Make Video Time Lapse: A Comprehensive Guide to Capturing Stunning Visuals
Time-lapse photography is not just a captivating way to present visual narratives, but it also serves as a powerful tool for real estate photography and various other domains. If you are looking to make video time lapse that resonates visually and emotionally with your audience, you're in the right place. This extensive guide will walk you through the best practices, equipment, and techniques necessary to produce awe-inspiring time-lapse videos that will set your work apart in the competitive landscape.
Understanding Time-Lapse Photography
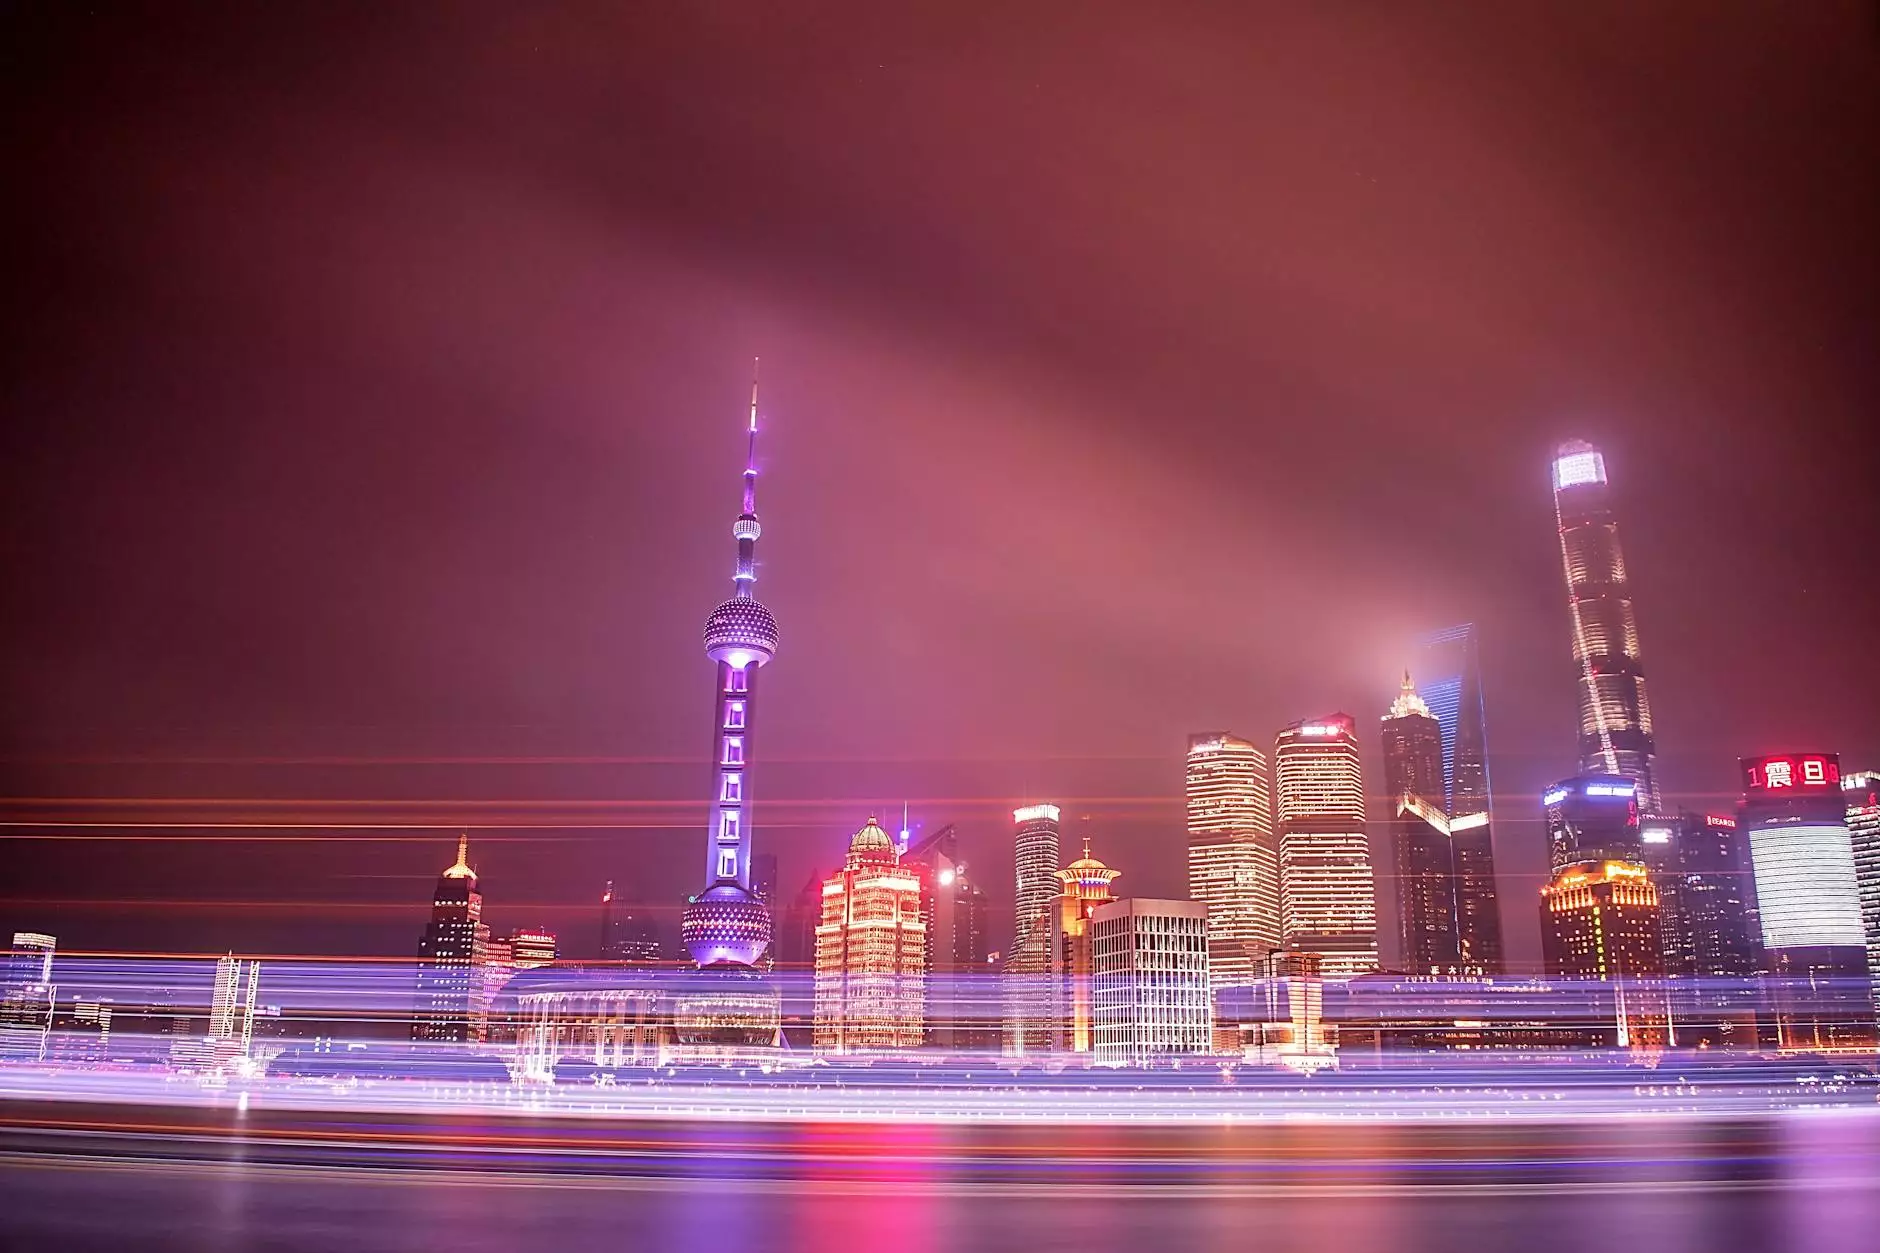
Before we delve into the technicalities of how to make video time lapse, let's clarify what time-lapse photography actually is. Time-lapse involves capturing a sequence of images at set intervals to record changes that take place slowly over time. When played at normal speed, time appears to be moving faster, thus giving the viewer a unique perspective on the subject matter.
Why Use Time-Lapse in Your Business?
Incorporating time-lapse videos into your business strategy, especially if you're involved in photography stores & services, can yield numerous benefits:
- Enhanced Engagement: Time-lapse videos are visually captivating, drawing in viewers and keeping their attention longer than standard videos.
- Storytelling Power: They enable you to tell complex stories in a simpler, more effective format.
- Showcase Projects or Locations: Ideal for real estate to showcase how a property evolves over time, or even how a city changes during the day.
- Marketing Edge: Businesses and brands that use innovative content strategies are more likely to stand out in competitive markets.
Equipment Needed for Time-Lapse Videos
To successfully make video time lapse, having the right equipment is crucial. Here’s a rundown of what you’ll need:
1. Camera
Your choice of camera can significantly affect the quality of your time-lapse videos. Options include:
- DSLR or Mirrorless Cameras: These provide excellent quality and manual control over settings, crucial for capturing stunning visuals.
- Smartphones: Many modern phones have built-in features to create time-lapse videos seamlessly.
- Action Cameras: Great for capturing dynamic time-lapse footage, especially in outdoor settings.
2. Tripod or Stabilizer
To ensure stability and avoid shaky footage, invest in a quality tripod. For more dynamic filming, like moving across a landscape, consider a gimbal stabilizer.
3. Intervalometer
This device controls the interval at which your camera takes pictures. Some cameras have this feature built-in, but if yours doesn’t, you can acquire an intervalometer separately.
4. Post-Processing Software
Software tools will help you compile images into a video format. Popular options include:
- Adobe Premiere Pro: An industry standard for video editing offering powerful features.
- Final Cut Pro: An excellent choice for Mac users.
- iMovie: A user-friendly option for beginners looking to create simple time-lapse videos.
Steps to Create Your Time-Lapse Video
Now that you have the right equipment, let’s discuss the steps to make video time lapse effectively:
Step 1: Choosing Your Subject
Select a subject that lends itself well to time-lapse photography. This could range from busy urban environments and blooming flowers to construction sites or sunsets. The best subjects are those that exhibit noticeable changes over time.
Step 2: Set Up Your Camera
Position your camera on a sturdy tripod, ensuring it’s stable throughout the duration of your shoot. If you're capturing a long project, think carefully about the angle and the clutter in the background, as you'll want to maintain a clean look throughout the footage.
Step 3: Configure the Settings
Adjust the following settings on your camera:
- Aperture: A lower f-stop number (wider aperture) allows more light in, which is great for low-light situations.
- ISO: Keep it low (100-200) to reduce noise.
- Shutter Speed: Choose a slower shutter speed to create smooth motion in bright environments.
Step 4: Determine the Interval
The interval at which your camera takes pictures is crucial. For dynamic scenes (like clouds moving), you might capture an image every 1-5 seconds; for slower changes (like a flower blooming), consider 30 seconds to a minute.
Step 5: Capture the Sequence
Once you’re satisfied with your setup, initiate the capturing process. Depending on your subjects and intervals, this could take anywhere from a few hours to days. Ensure your battery is sufficiently charged, or use an AC adapter for long shooting sessions.
Step 6: Edit Your Footage
After capturing, import your images into your editing software. Here, you can adjust frame rates, apply transitions, add music, and refine your footage to create a polished time-lapse video.
Tips for Successful Time-Lapse Photography
To ensure your time-lapse videos are of the highest quality, keep these tips in mind:
- Plan Ahead: Scout your location and determine the best times for shooting, considering lighting and weather conditions.
- Use Manual Mode: This gives you full control over exposure settings, essential for consistency throughout your sequence.
- Be Patient: Time-lapse photography often requires lengthy shooting sessions; allow yourself the time needed to capture your desired footage.
- Optimize Your Files: High-quality images and footages ensure that when edited, the final video is crisp and professional.
Utilizing Time-Lapse in Real Estate Photography
For real estate professionals, the implementation of time-lapse photography can significantly enhance property presentations. Prospective buyers are more likely to be drawn to properties presented with innovative visual techniques. Here are just a few ways time-lapse can be advantageous:
1. Showcasing Renovations
Capture the transformation process of a home, from demolition to final touches. This not only highlights the efforts involved but also adds intrigue for potential buyers.
2. Landscape Changes
Show how a garden or area surrounding the property changes over time, whether it’s through seasons or landscaping efforts.
3. Neighborhood Activity
A time-lapse video can demonstrate the liveliness of a neighborhood throughout the day, helping buyers visualize their potential lifestyle in the area.
Conclusion: Elevate Your Photography Game
There’s no doubt that incorporating time-lapse techniques into your photography can elevate your work significantly. Whether you are involved in photography stores & services or looking to improve your skills as a photographer, knowing how to make video time lapse effectively can set you apart from the competition. With the right equipment, knowledge, and a bit of creativity, you can create mesmerizing time-lapse videos that captivate any audience.
Leveraging time-lapse photography not only enhances visual storytelling but also positions your brand effectively within the highly competitive realms of real estate photography and beyond. Explore the world of time-lapse today, and watch as your visual narratives come to life!